October 13, 2026
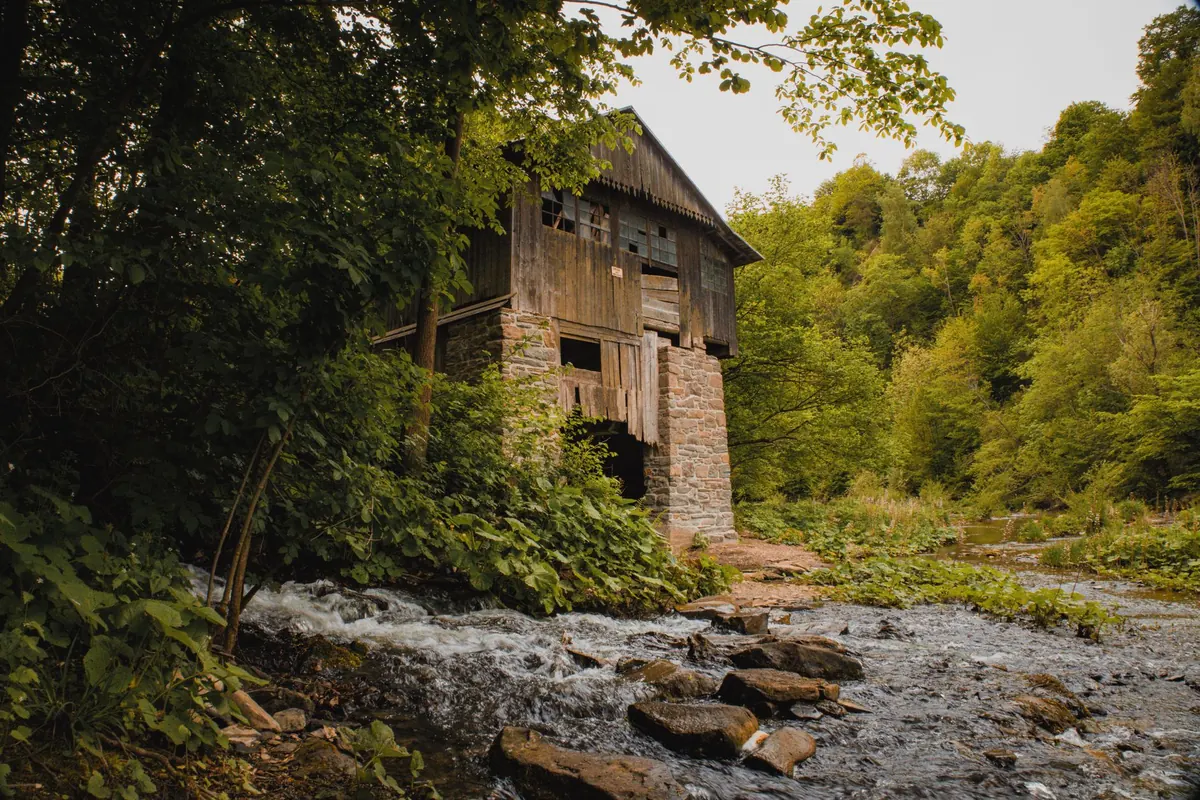
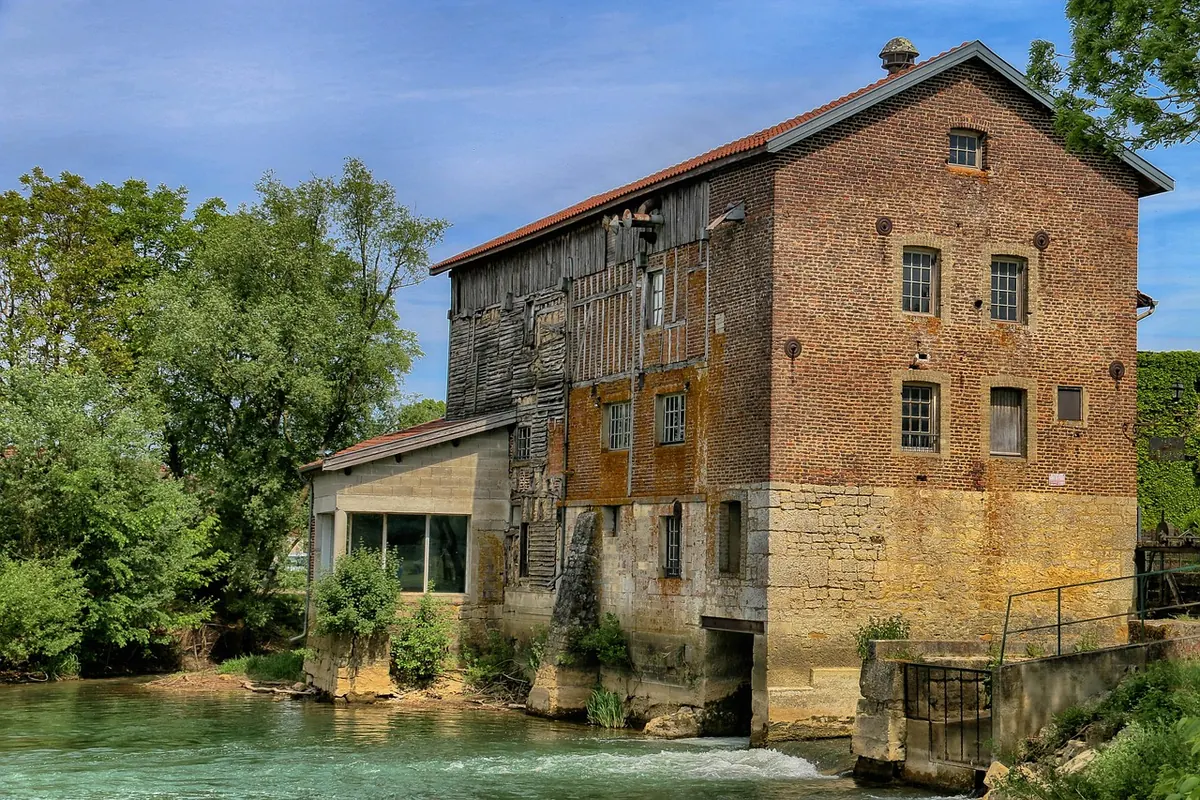
A mill shows itself in pieces. From the trail you catch a roofline above the trees, then a wall of grey stone, then — if the light cooperates — the wheel, half in shadow, water sliding over the paddles. Most hikers stop at the first clear view, take one frame, and walk on. The result is usually flat: pale sky, black spokes, stone with no texture at all.
The gap between that record shot and an image you would actually print has little to do with your camera. It comes down to when you arrive, where you stand, and how you behave while you are there. Mills are patient subjects. They have been sitting in the same valley for two hundred years, and they will still be there if you come back in better light.
Read the Light Before You Read the Building
A mill is two subjects fighting over one exposure: stone and water. Water reflects the sky, so on a bright overcast afternoon the millrace turns into a white ribbon and drags the masonry down into shadow. Learn to see that problem before you raise the camera.
Most mills sit low, close to the stream, often in a valley narrow enough that the sun clears the ridge well after sunrise. That matters. A wheel facing east may not see direct light until mid-morning; one tucked under trees on the north side may never get it. Walk past the building once without taking a photograph and simply note where the light is falling. Then decide.
The last hour before sunset is generous to old buildings. Low sun rakes across stone and pulls out the joints and the tooling marks, and wet paddles catch a warm edge that no other hour gives you. Midday is the opposite: hard, contrasty, textures flattened, spokes dropping into black. If you are there at noon, spend the time on shaded details and come back for the wide view another day.
Overcast weather is underrated, but for close work rather than landscapes. Flat light is exactly what you want for moss on a sluice gate, iron gearing, lichen on a sill. Save your wide shots for sun.
Angles: Six Positions Worth Trying
The first frame should be the obvious one. Stand on the path, frame the building square, and get it out of your system. Then start moving. On a site the size of a mill there are usually half a dozen strong viewpoints within a minute's walk:
- Straight on from the trail. The record shot, and useful as a reference for later visits.
- Down at water level. Where the bank is safe and access is clearly allowed, a low angle makes the wheel look larger and puts a reflection beneath it.
- Thirty metres upstream or downstream. A bend, a low branch, or a stone bridge gives you a natural frame around the building.
- Behind the wheel, looking out. If you can reach the tailrace side without climbing anything, you get the spokes silhouetted against the valley.
- The approach. Step back until the mill is small in the landscape and the path leads the eye in. This is often the shot that tells the story of the hike rather than just the building.
- The vertical. A wheel is round. Either include the whole circle with breathing room, or crop deliberately into the hub and paddles. Half a wheel looks like a mistake.
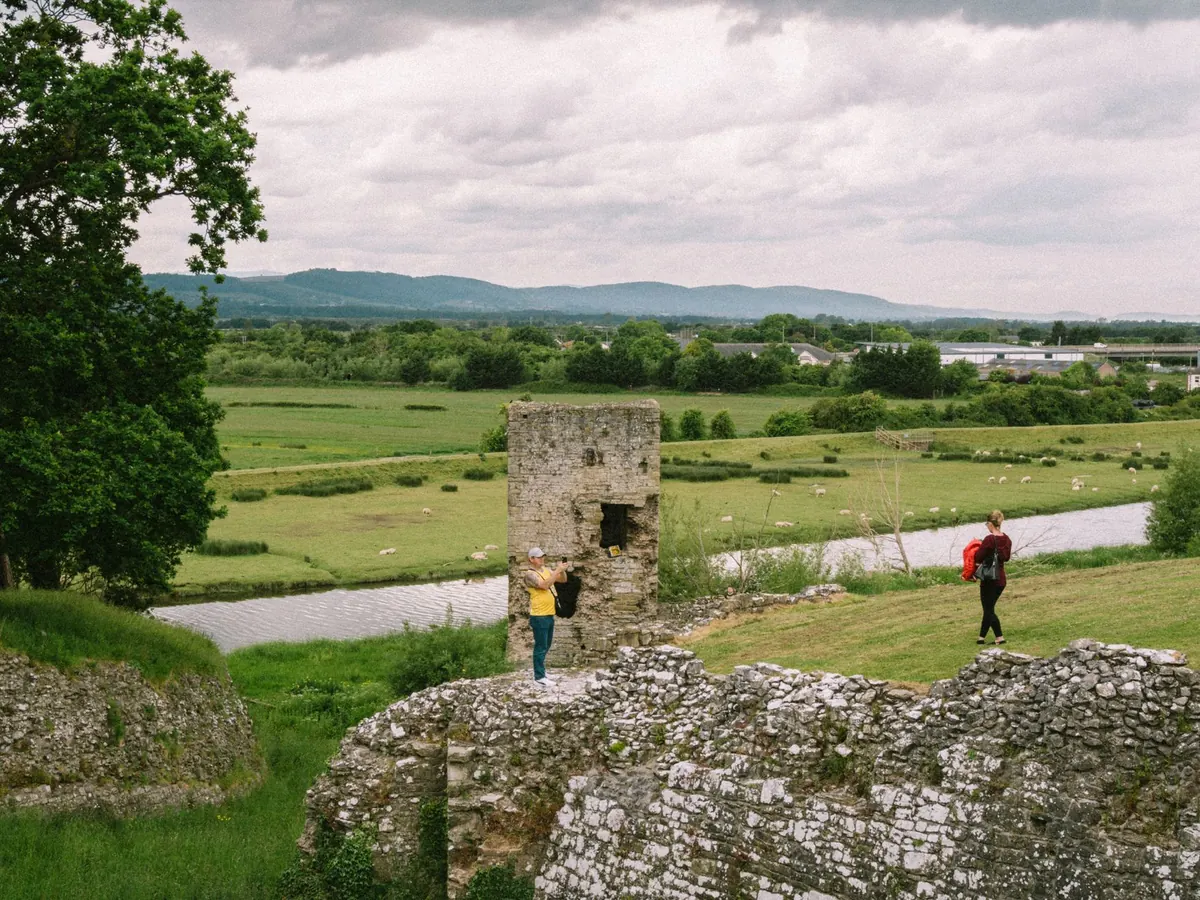
One more thing: scale. A mill alone can look like a doll's house. Put your hiking partner on the path, small in the frame, and the building suddenly has weight. You do not need a person in every shot — just the one that establishes how big the place really is.
The Details That Carry the Story
Wide shots show where a mill is. Details show what it did. Once you have the establishing frames, slow down and work the surfaces. This is where a phone camera with a close-focus setting does just as well as a bag of lenses.
- Millstones, often leaning against a wall or half-buried in grass, with the furrows still visible.
- Iron gearing and shafts, greasy-dark against pale stone, especially good in flat light.
- Wooden paddles or buckets on the wheel, worn thin on one edge.
- The millrace and sluice — the channel that fed the wheel, and the gate that controlled it.
- Worn thresholds and hand-smoothed stone steps, the clearest evidence that people worked here daily.
- Initials, dates, and old repairs: a carved year over a door, a patch of brick in a stone wall.
Watch your background when you go close. A single bright patch of sky or a plastic bottle behind your subject will pull the eye away. Shift half a step, and it disappears.
Water, Movement, and Shutter Speed
Moving water gives you a choice, and it is worth making it consciously. A fast shutter freezes individual droplets and spray over a weir; something around half a second to a second turns the same water into a smooth white sheet. Neither is better. Try both while you are standing there.
For long exposures you need stability. A small tripod is ideal, but a camera or phone resting on a dry stone wall, a rock, or a folded jacket works surprisingly well. Keep your improvised support out of the path so other walkers are not stepping around you. A polarising filter, if you carry one, cuts glare on the water surface and lets you see stones and weed beneath — a real advantage at a millpond. Reflections need stillness, so early morning before the wind picks up is your friend.
Etiquette: Mills Are Usually Someone's Property, and Always Someone's History
Many historic mills are private homes, farm buildings, or working workshops. Others are protected ruins. In both cases, the photograph is the smallest part of the visit.
A closed gate, a fence, a chain across a track: these are answers, not obstacles. If a house sits nearby, ask. A polite request for a couple of exterior photographs from the path is often met with a yes, and sometimes with a story about the last miller. Do not climb on wheels, walls, or ruined masonry. Old mill structures are frequently unstable, and a wheel with water in the race can turn without warning. If a site looks unsafe, it is.
Leave everything where it is. Do not move stones to improve a composition, pull down ivy to reveal a doorway, or prop a gate open. Do not step into a flower-rich bank for a better angle. And be careful with drones: rules vary by place, they disturb neighbours and wildlife, and a mill is exactly the kind of quiet spot where the noise travels. Ask first, or leave it in the bag.
Think about what you publish, too. A geotagged pin on a fragile ruin or a private building can send a crowd somewhere that cannot absorb one. Showing the mill in a wider landscape, without an exact location, is often the more generous choice.
Leave With the Frame, Not the Stone
Give a mill twenty minutes instead of two. Walk the perimeter, check the light on each face, take the obvious shot, then take three more from positions you had to walk to. Put the camera down for a moment and listen to the water — that sound is usually what makes people stop at these buildings in the first place, and it is a good guide to what the photograph should feel like.
Then pack up, step off the path for anyone passing, and carry on up the trail. The best mill photograph is the one that leaves the site exactly as you found it, and gives you a reason to walk this way again in another season.
Photo: Dominik Gawlik / Pexels