October 26, 2026
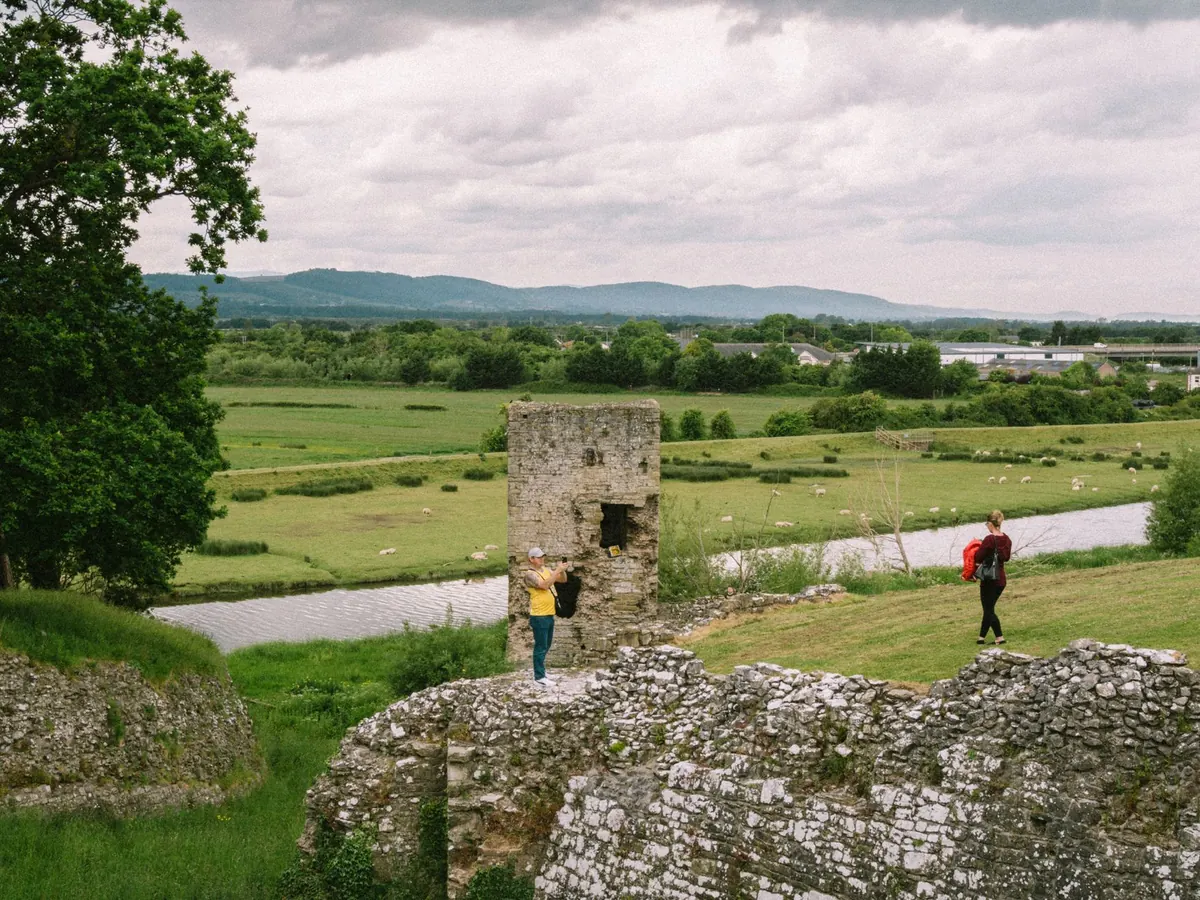
Half an hour above the village, the path crosses a stream on flat stones and then passes a wall. It is chest high, mossy on the shaded side, and it ends in the middle of nothing. Most walkers step over the tumbled stones without breaking stride.
That wall is a document. A mill was the most complicated machine most upland valleys ever built: a building, a water system, a wheel, a pair of stones, a track, and often a pond, all working as one. When the roof went and the iron was sold for scrap, the stonework stayed behind. Learn to read it and a dull stretch of trail becomes a puzzle you can actually solve: where the water came from, which way the wheel turned, how big the stones were, and roughly when the place stopped earning its keep.
Follow the Water Before You Look at the Walls
Water is the first clue and usually the best preserved one. Before you study a single wall, walk upstream and look for the point where the stream was tapped. You are looking for a low weir across the bed, often now a broken step of stones, with a channel leading away on one bank at a shallow angle.
That channel is your guide for the rest of the visit. A man-made headrace has tells that a natural stream does not: a fairly constant width, a line that runs straight for stretches and then turns in deliberate corners, one bank built up as a retaining wall, and a cut into the hillside with a low bank of spoil on the uphill side. On many Italian maps the channel appears as a gora, and the feature may be drawn even where the building is not.
Follow it downhill to the mill and then keep going past it. The channel that leaves the site, the tailrace, is just as informative. Its size tells you roughly how much water the wheel needed; its drop tells you how much head the site had. If the tailrace runs fast and steep, the wheel was probably driven by a good fall of water. If it crawls away almost level, the mill was working on volume rather than height.
Dry channels are worth a second look too. A groove in the ground with stone edging, a short tunnel under a track, a stone-lined gap in a field wall: all of these are water works, and they will often lead you to a mill site no guidebook mentions.
The Wheel Pit: Where the Power Stood
The wheel itself has almost always gone, eaten by rust or carted off. What survives is the pit: the rectangular hollow beside the building where the wheel turned, and the masonry that held its axle. Stand at one end and look at the shape.
A deep, narrow pit with the water delivered at the top of the wheel points to an overshot wheel, the most efficient of the traditional designs. A shallower pit where the water strikes around the middle suggests a breastshot wheel. A wide, open channel where the wheel barely dipped into the flow is the signature of an undershot wheel, the simplest and oldest arrangement, which relies on the current pushing the paddles rather than on the weight of water.
Look for the bearing blocks: squared stones set into the side walls, sometimes with a rust stain or the remains of an iron strap. Notches and slots cut into these stones show where the axle sat and how high it could be adjusted. If you find vertical grooves in a wall above the pit, those were the guides for the sluice boards that controlled the flow. Millers spent much of their working life adjusting those boards a few centimetres at a time.
Walls, Openings and Scars
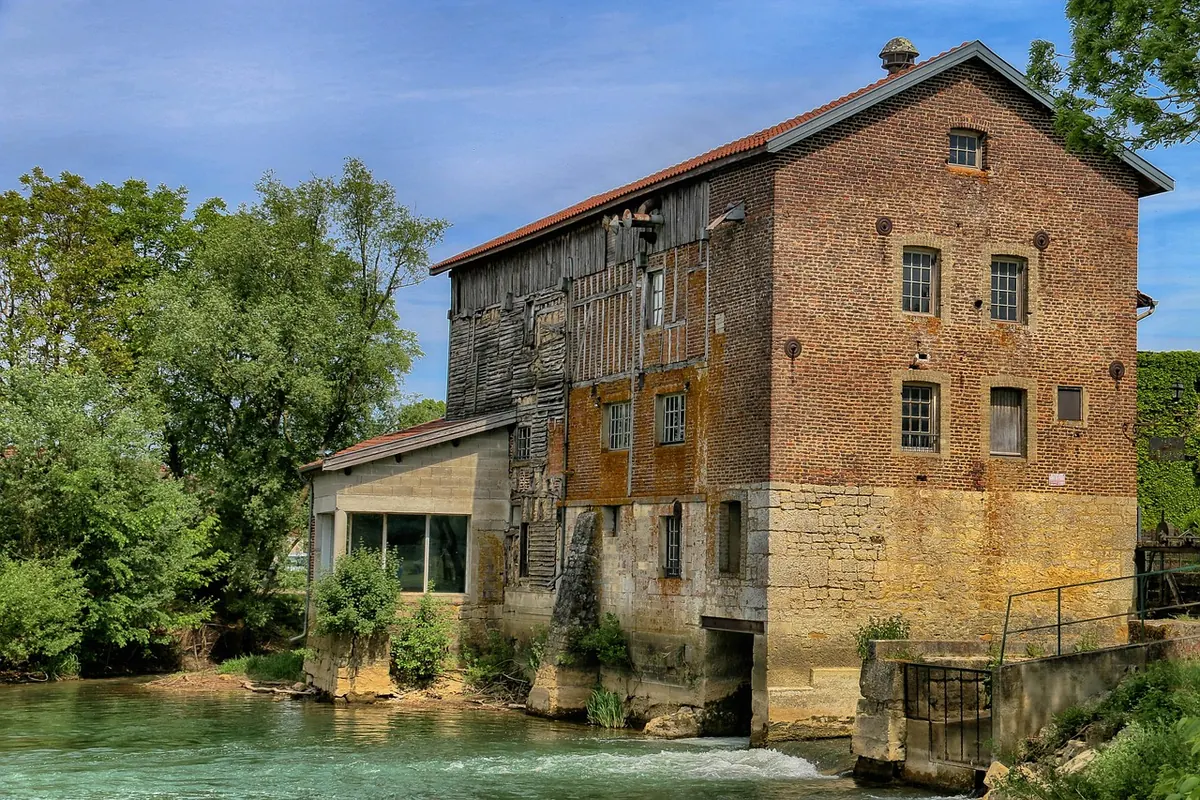
Mill buildings were built to take vibration and damp, which is why their walls so often outlast the cottages nearby. Read them slowly and they will tell you where the floors were, where the machinery sat, and how the building changed over time.
- Stone and coursing. Rough rubble of local stone, laid in rough courses, is the common fabric. Dressed, squared stones at the corners (quoins) and around openings point to a building that was meant to look solid and stay square.
- Putlog holes. A neat row of square sockets in a wall is where the scaffolding poles went during construction. They usually line up with a floor level, which helps you count storeys.
- Sill stones and lintels. Dressed flat stones in a wall mark window and door openings. A row of them at regular heights often outlines a lost upper floor.
- Soot and staining. Blackening high on a gable suggests a chimney or a drying kiln. Blackening low down, near a hearth stone, is a different story. Traces of pale plaster or whitewash tell you which surfaces were interior.
- Patching and blocking. Brick infill in a stone wall, a doorway filled with rubble, a concrete lintel: each is a dateable change of use, from mill to store to barn to ruin.
One caution with walls: what looks like a mill wall may be a later field wall built from the mill's stones. Look for the giveaway of re-use, which is stonework that does not quite match its position, or dressed stones lying in a rubble wall at odd angles.
Millstones and the Milling Floor
Millstones are the most exciting find and the easiest to misread. The pair worked as a team: the bed stone lay still, the runner stone turned above it, and grain was fed through the hole at the centre, the eye. The runner stone was slightly hollowed, so the meal worked its way outward and fell from the rim into a bin or sack.
Look at the working face. Grinding stones were not smooth; they were cut with a pattern of grooves, and a miller re-cut them regularly with a chisel-ended hammer. If you can see fine parallel tool marks, radiating grooves, or a pattern of curved "harps", you are looking at a dressed face rather than a random slab. A square or cross-shaped hole in the centre is the seat for the iron cross that drove the runner stone.
Fragments turn up everywhere on these sites: in path surfaces, as doorsteps, as edging around a flower bed, wedged into wall footings. Whole stones were valuable and were usually carried away. Two lookalikes are worth knowing. Olive presses used large upright edge-runner stones rolling in a circular basin, and grinding stones for edge tools are smaller and thinner. If the stone is thick, circular and grooved across a broad face, you are probably looking at grain.
Where was the pair actually installed? Look for a raised platform of heavy beams or masonry in the driest part of the building, usually the upper floor, and for the hurst, the timber or stone frame that carried the stones and absorbed their shake.
Beyond the Building: Ponds, Tracks and Rubbish
Step back from the ruin and the site gets bigger. A flat, damp hollow upstream is often the old millpond; a straight bank across it is the dam, and a stone-lined notch at one end is the spillway that kept the water from overtopping. A wide, smooth track curving to the door tells you grain came in by cart, which means the mill served more than one household.
Small squares and rectangles nearby are worth a look. A tiny building with a massive hearth may be a drying kiln. A footpath worn into the bank marks the route the miller took to the sluice several times a day. And the ground around the walls, where it is not disturbed, often holds roof tile, white pottery and clinker from the last decades of working. Look, photograph, leave it in place: an object in the ground still has a context, and an object in your pocket does not.
Maps are a cheap advantage. Look for names containing Molino, Molini, Mulin or Mola before you set out. Many of these sites are marked on old maps and unnamed on new ones, and a name on a map plus a stream on the ground is a strong hint that something is there.
Reading a Mill in Ten Minutes
You do not need to become a industrial archaeologist to enjoy this. A short, repeatable routine does most of the work:
- Stop thirty paces back and look at the whole slope before you go close.
- Find the weir upstream, then follow the headrace down to the building.
- Identify the wheel pit and note how the water reached it.
- Walk the walls for openings, putlog holes and soot.
- Search the ground and the nearby tracks for millstone fragments and tooling.
- Follow the tailrace away and see where the water returned.
Keep to the path where the ground is soft or the walls are high, and stay out of wheel pits, tunnels and any covered shaft. Old water works are exactly as unstable as they look, and a pit half full of leaves hides a drop. Do not lever stones out to see what is underneath.
If a site intrigues you, record it properly: a photograph with something for scale, the direction you were facing, and a grid reference are genuinely useful to local heritage groups and often to the landowner. A close-up of a mossy wall is not. The best outcome of a day on the trail is not a pocket full of fragments but a clear picture in your head of water arriving, turning a wheel, and leaving again, with the stones still standing in the right places to prove it.
Photo: Lisa Fotios / Pexels